Devin Local
Our next-generation agent harness, shared with Devin CLI. Runs on your machine as the primary local agent.
Usage
Credits and usage.
Terminal
An upgraded Terminal experience.
MCP
MCP servers extend the agent’s capabilities.
Memories
Memories and rules help customize behavior.
Context Awareness
Instantly understands your codebase.
Advanced
Advanced configuration options.
Workflows
Automate repetitive trajectories.
App Deploys
Deploy applications in one click.
Join our Discord for support, feature requests, and bug reports!
Set Up
Onboarding
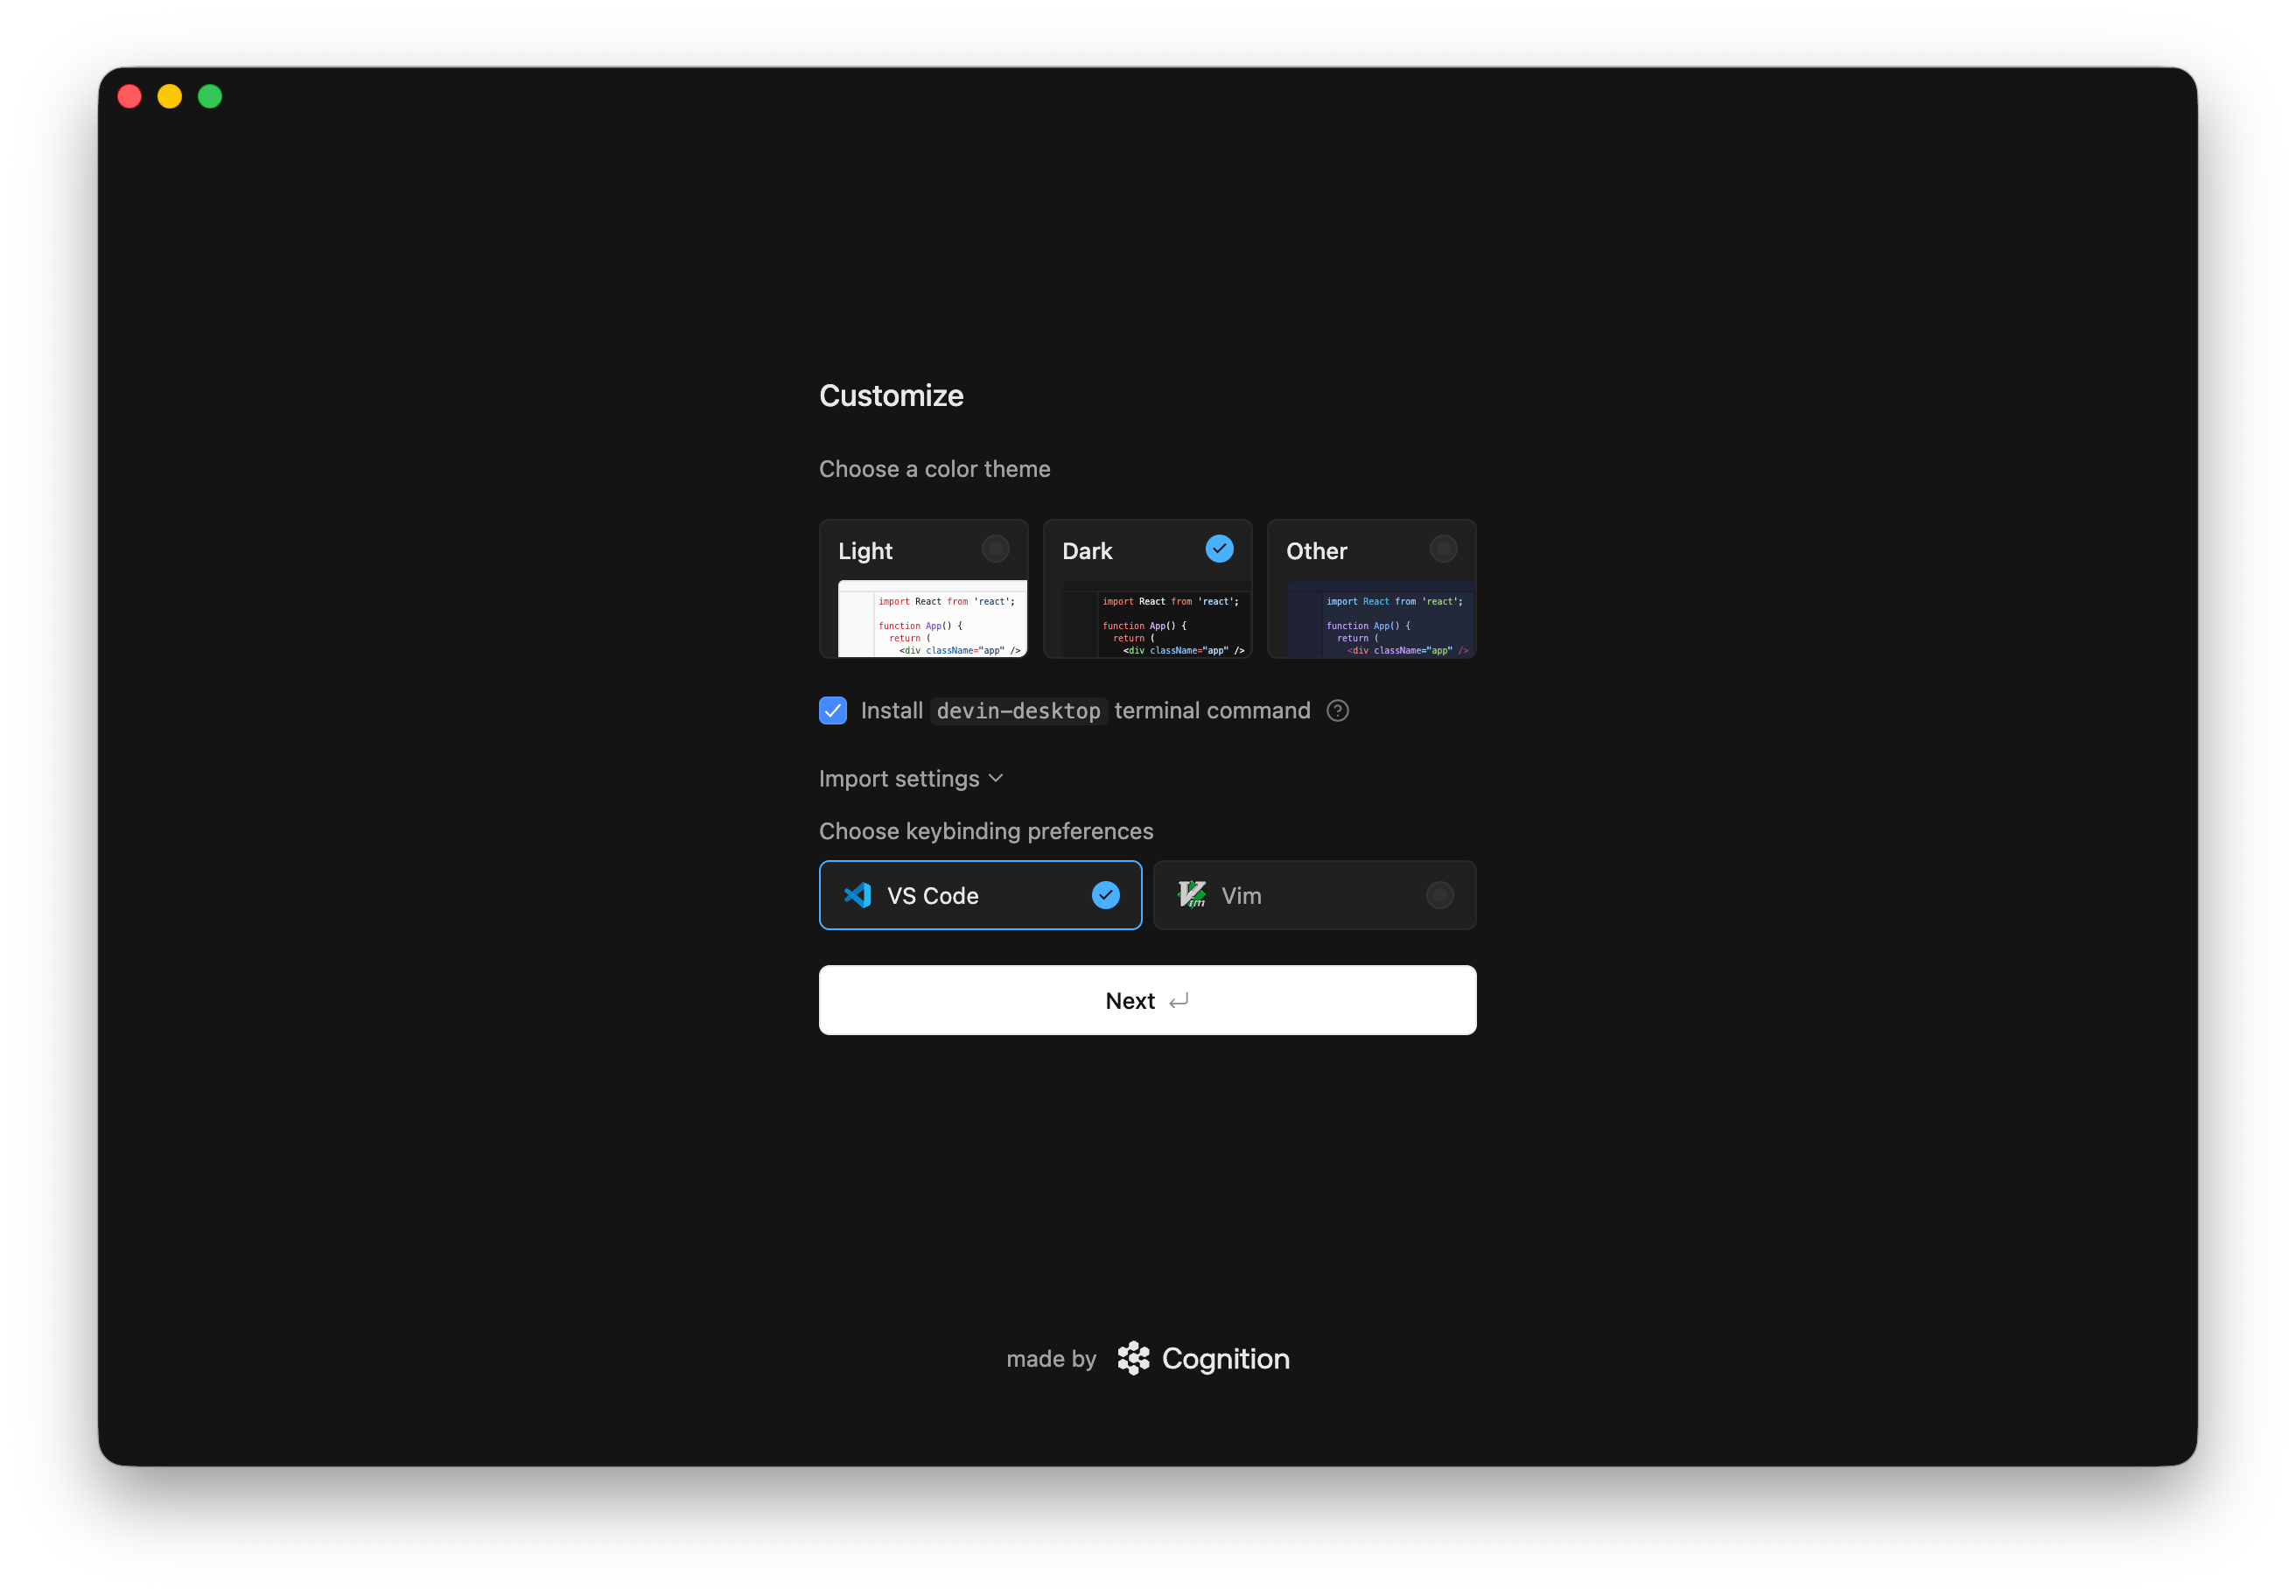
1. Select your preferred theme
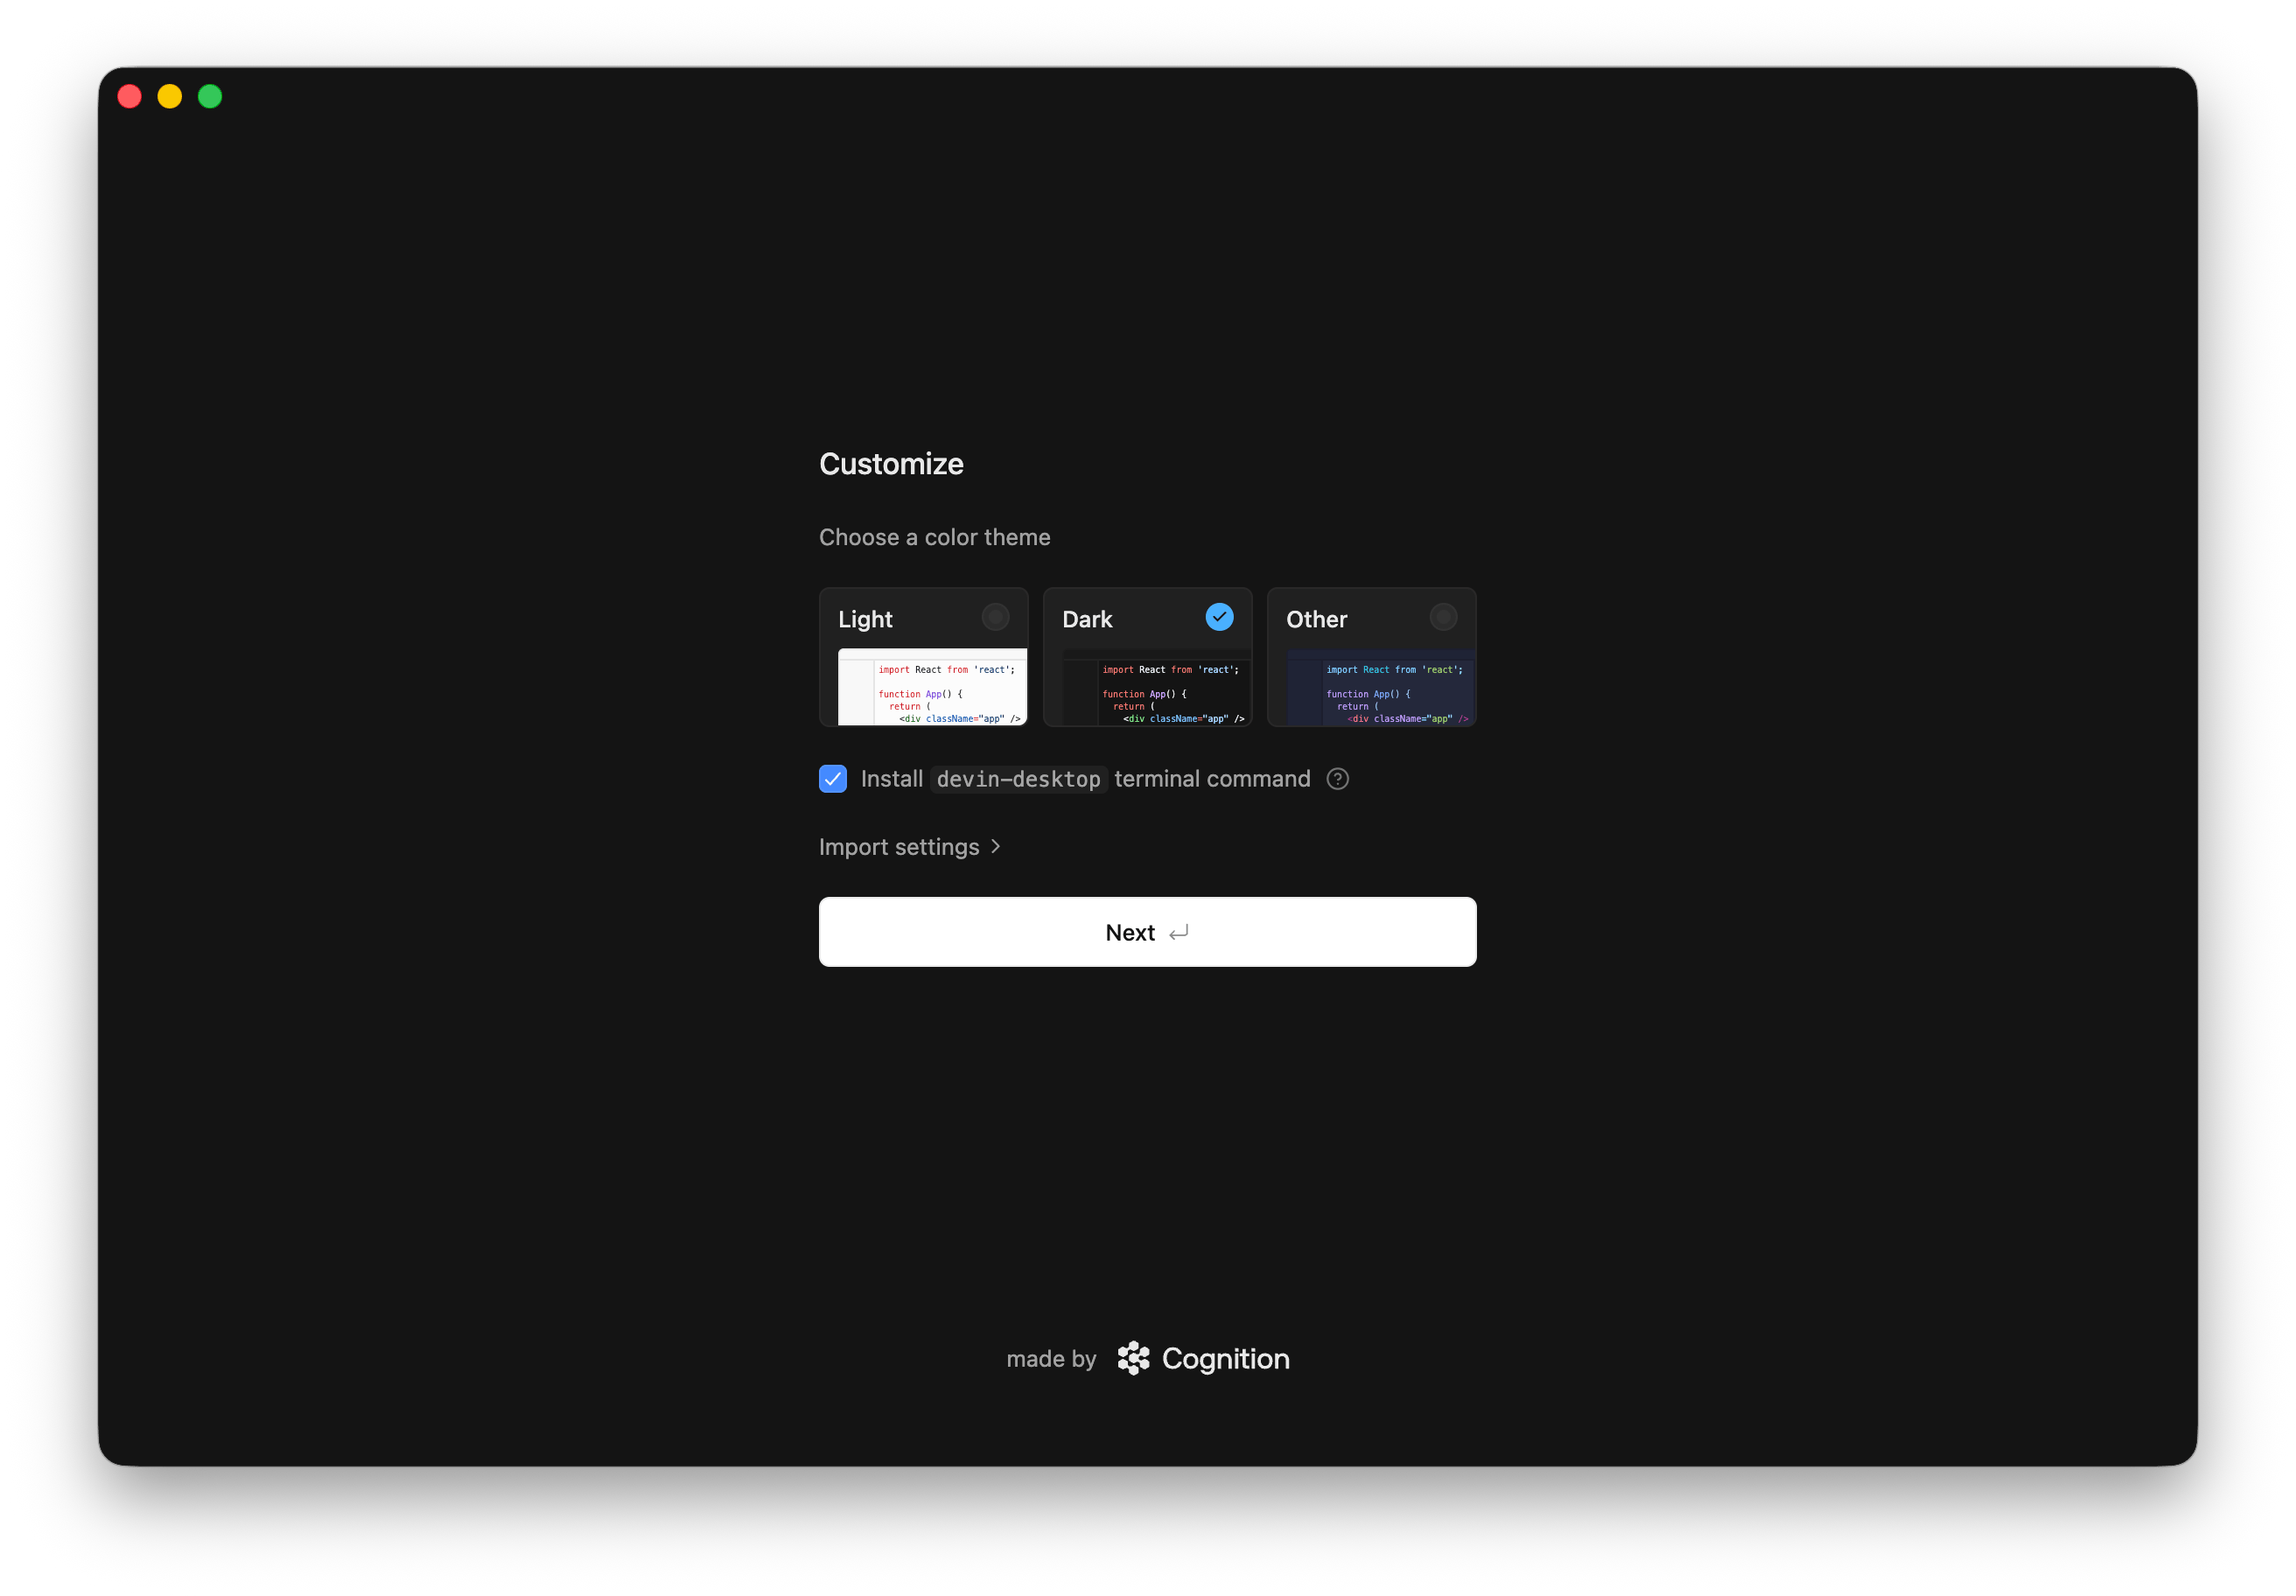
devin-desktop terminal command” option checked to launch Devin Desktop from your terminal:
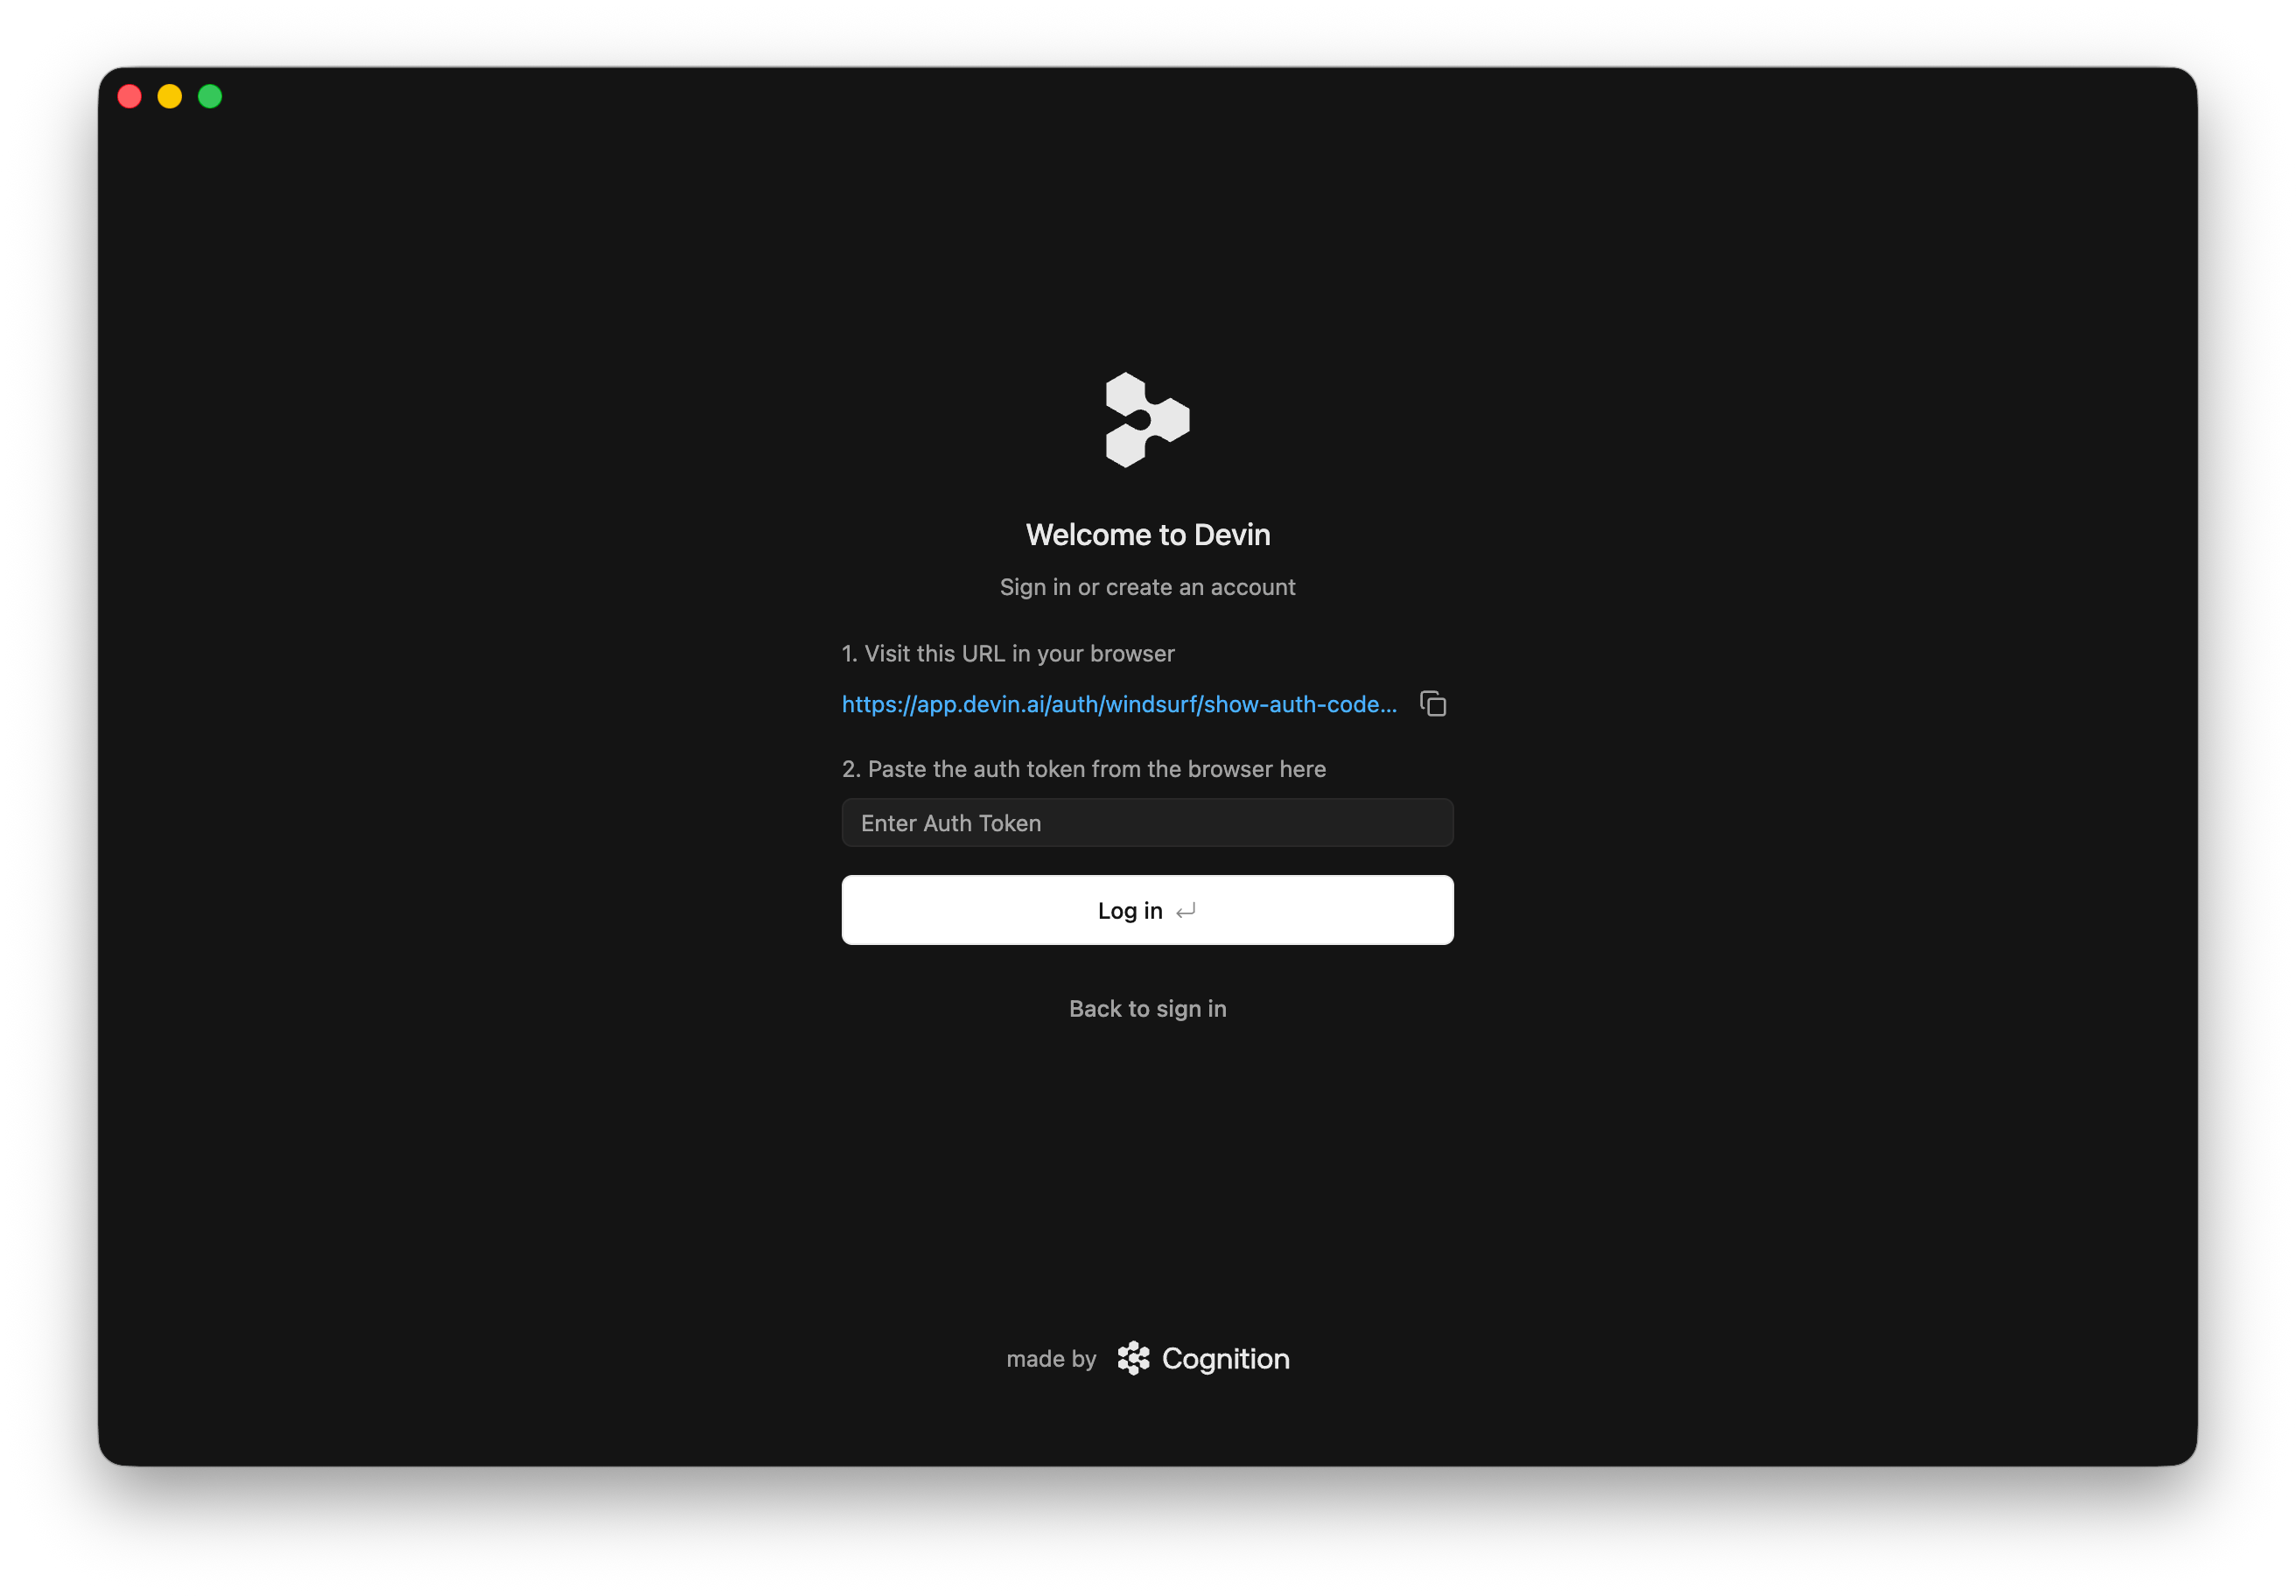
2. Log In / Sign Up
To use Devin Desktop, you will need to log in with your Devin account. If you don’t have one yet, you can sign up for free!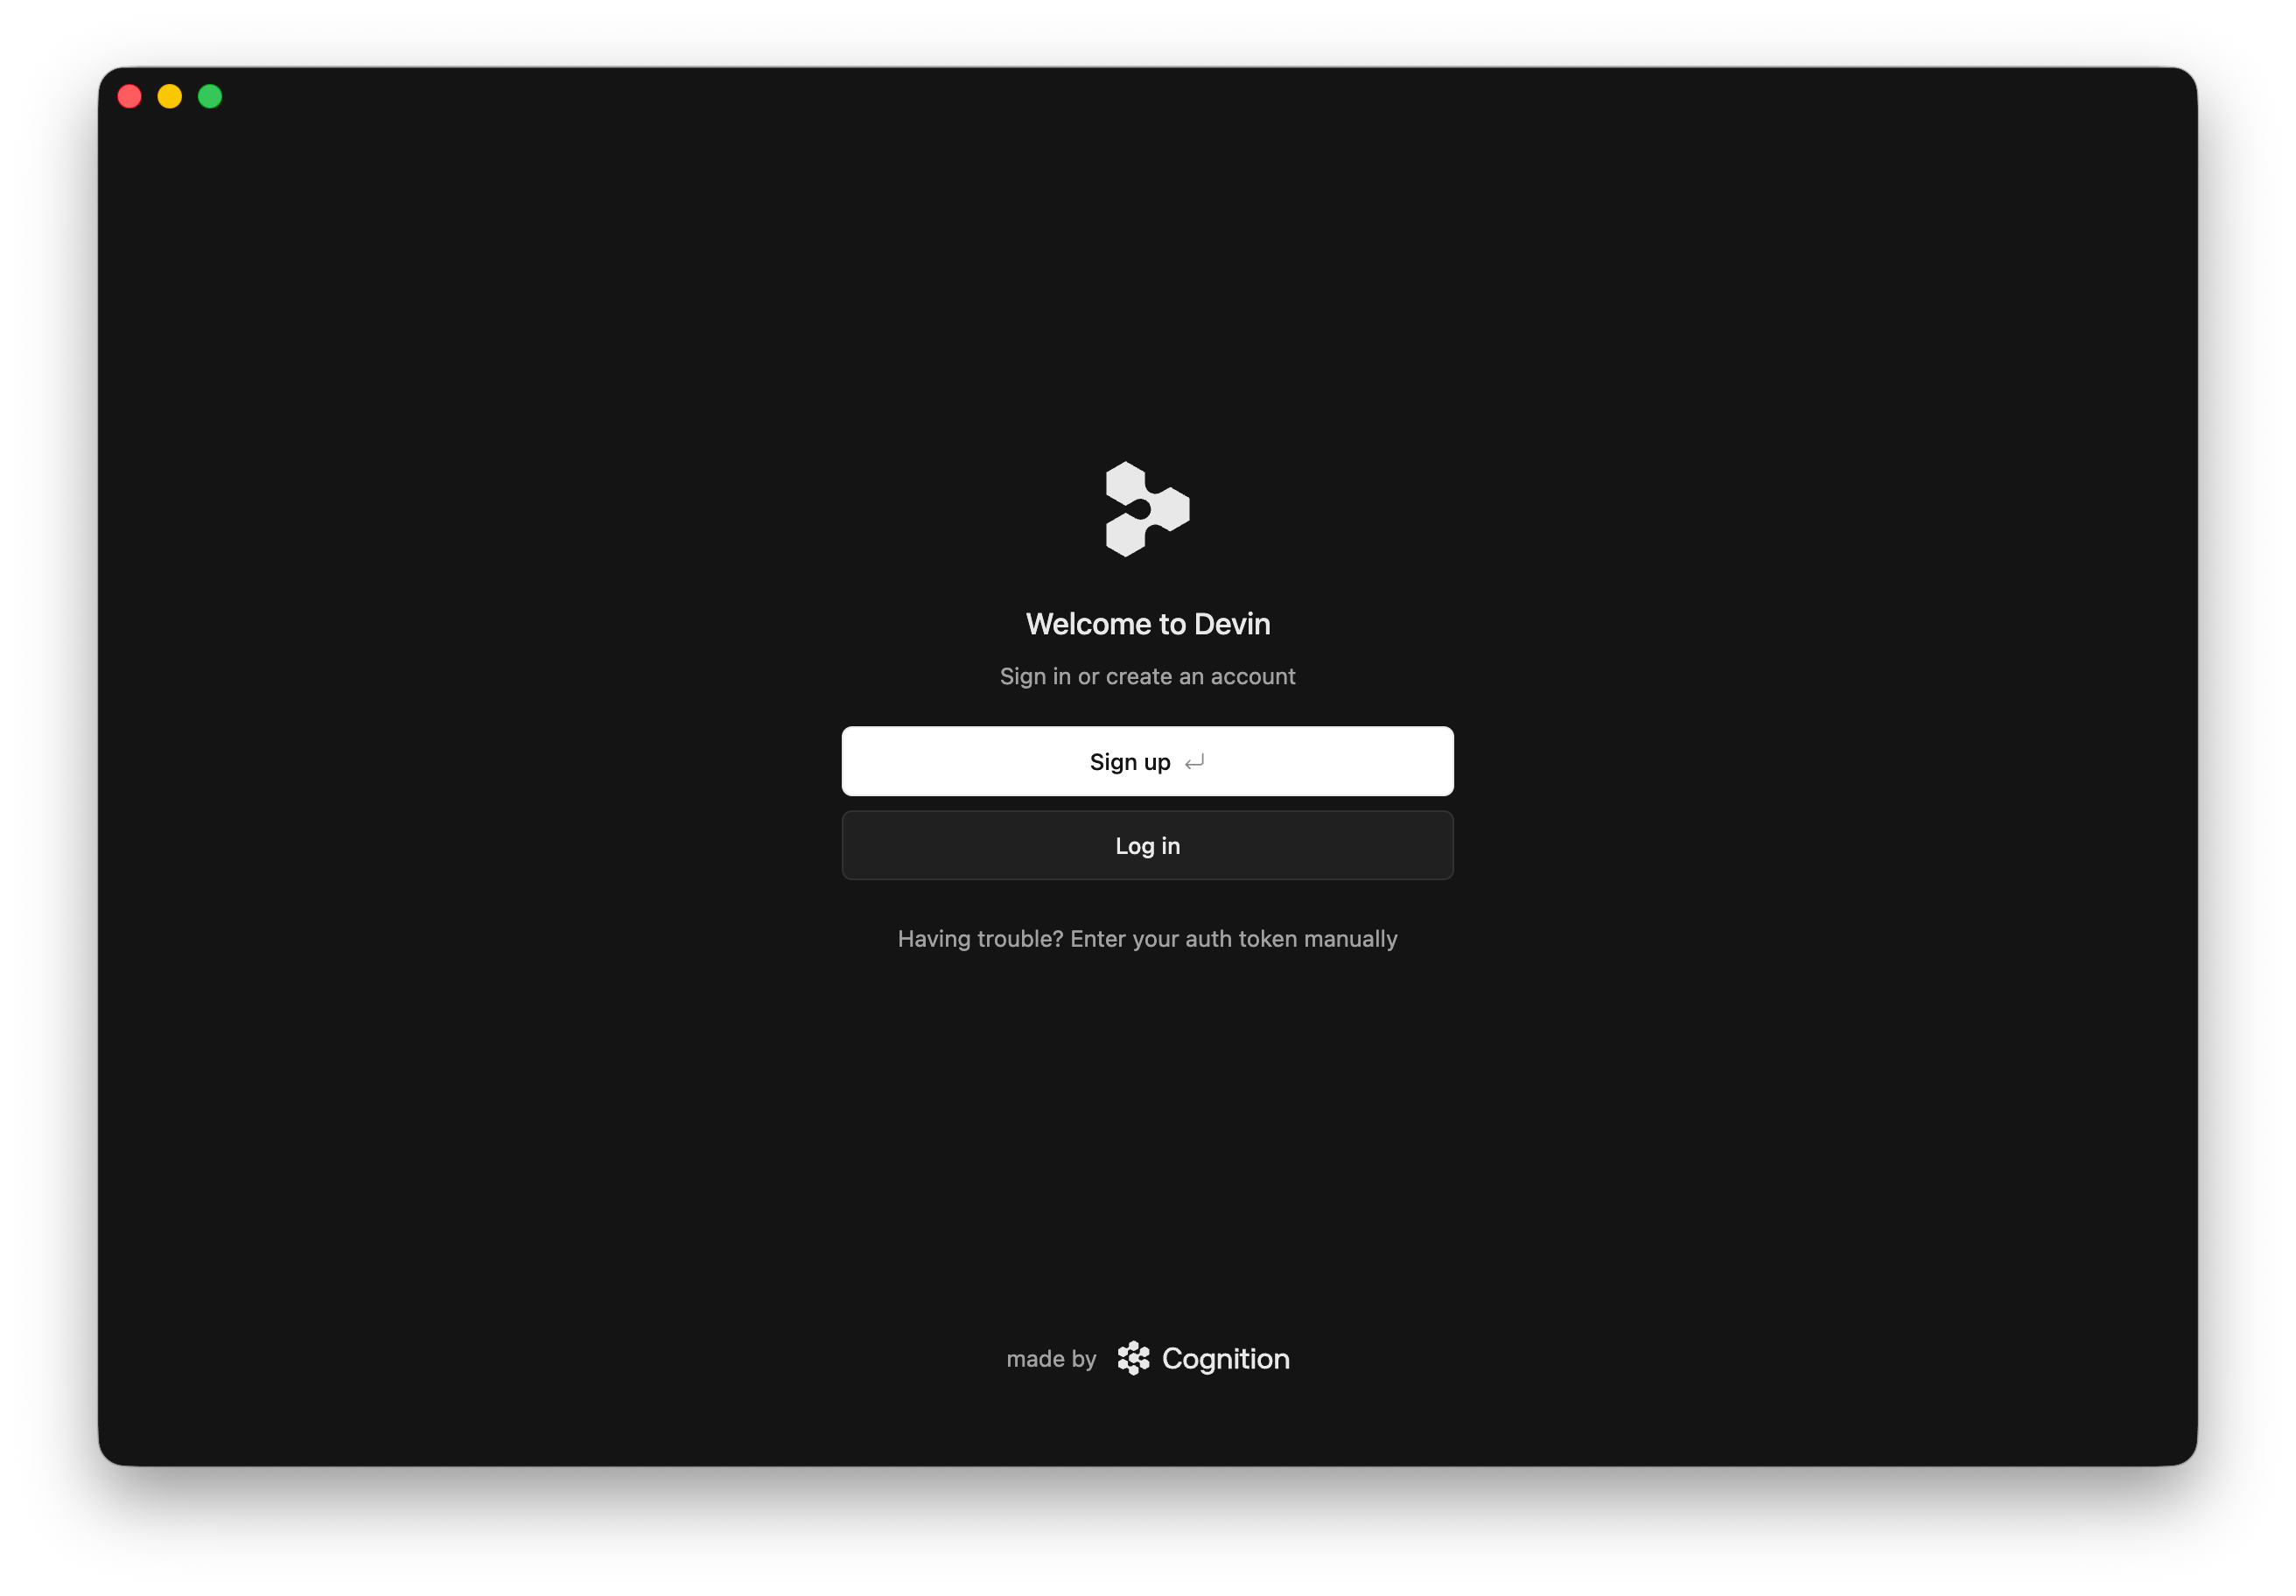
3. Start Building with Devin!
Recommended Plugins
Explore some of our recommended plugins to get the most out of Devin Desktop!
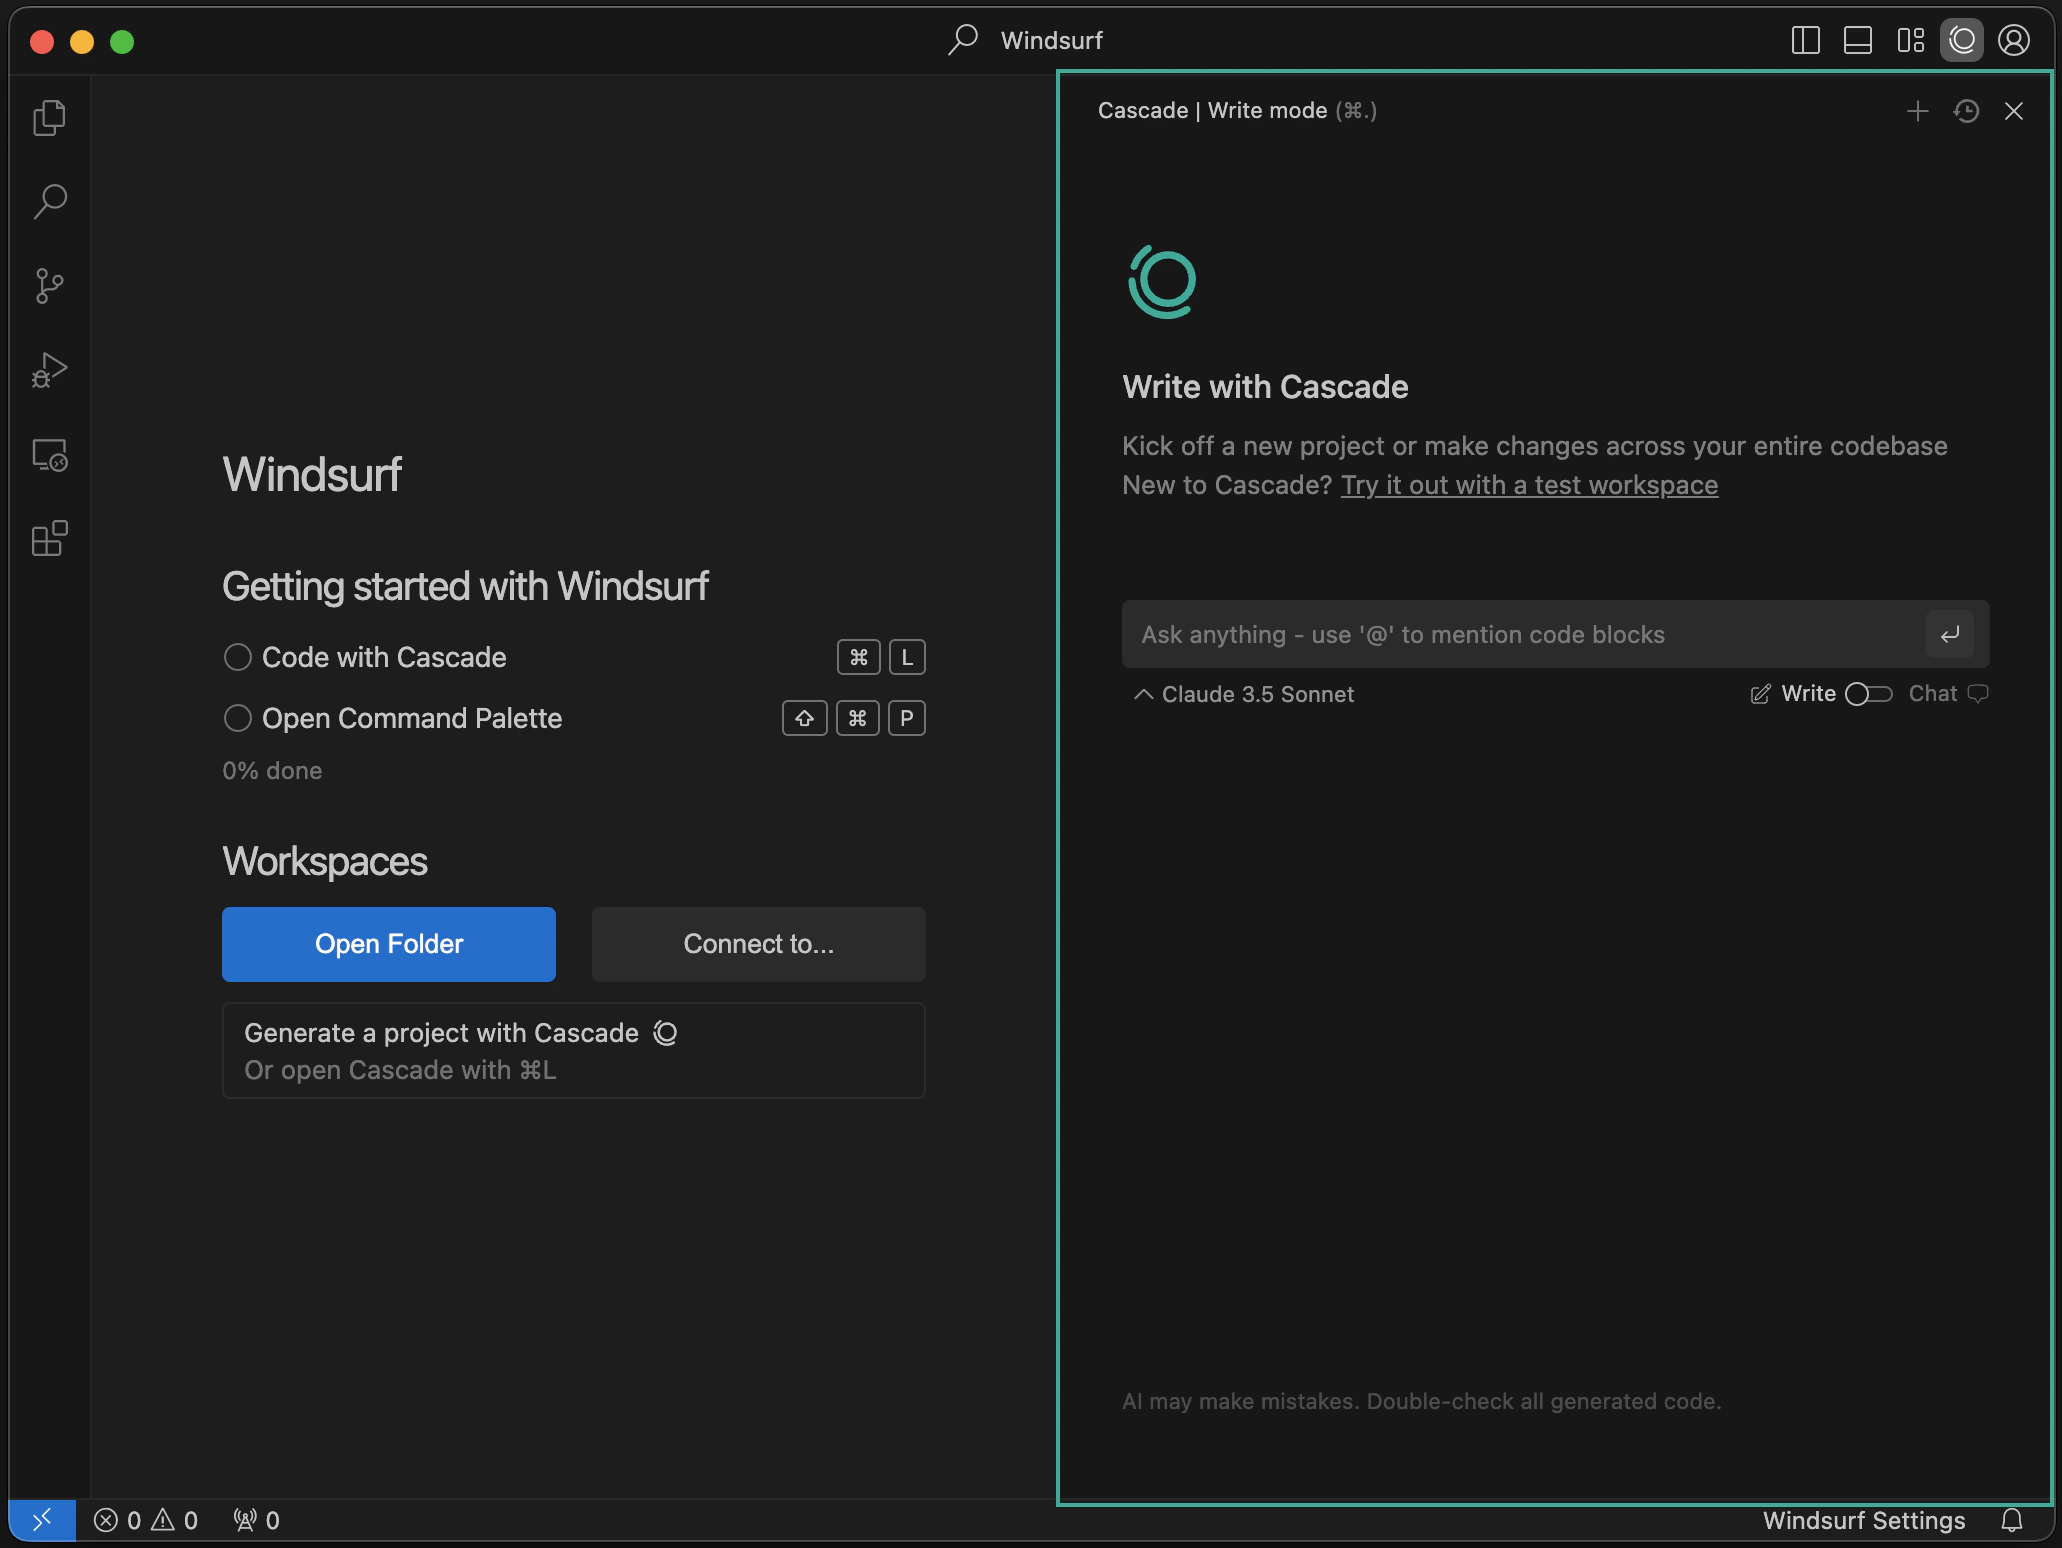
Things to Try
Now that you’ve successfully opened Devin Desktop, let’s try out some of the features! These are all conveniently accessible from the starting page. :)Chat with the agent
Chat with the agent
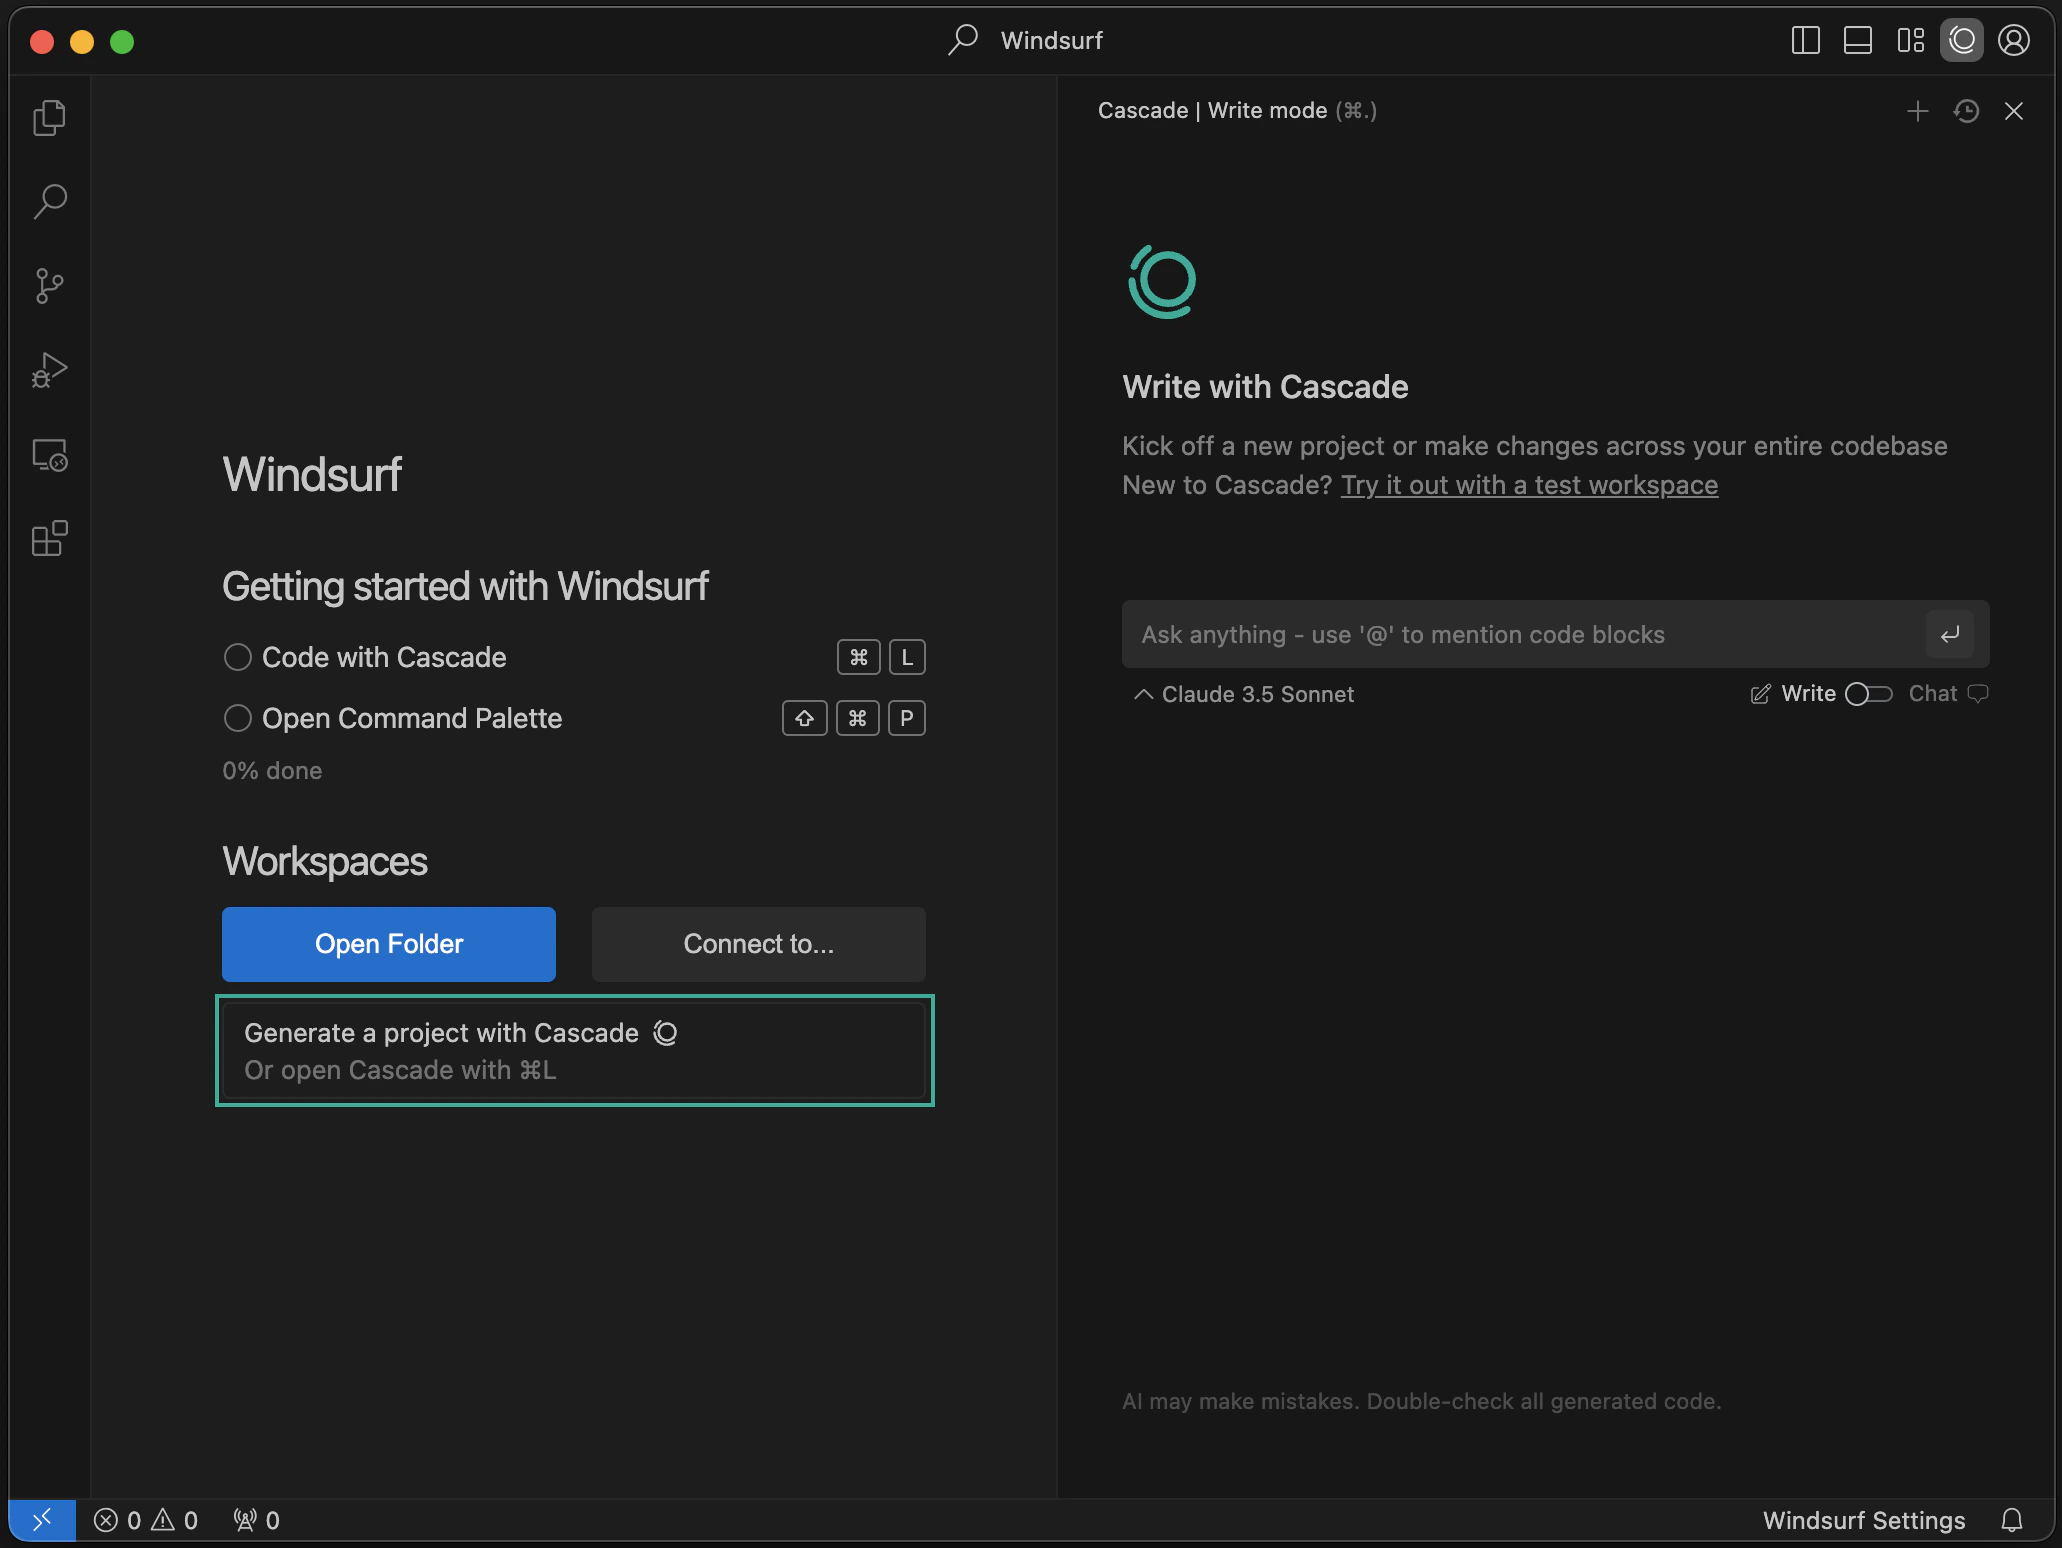
Generate a project with the agent
Generate a project with the agent
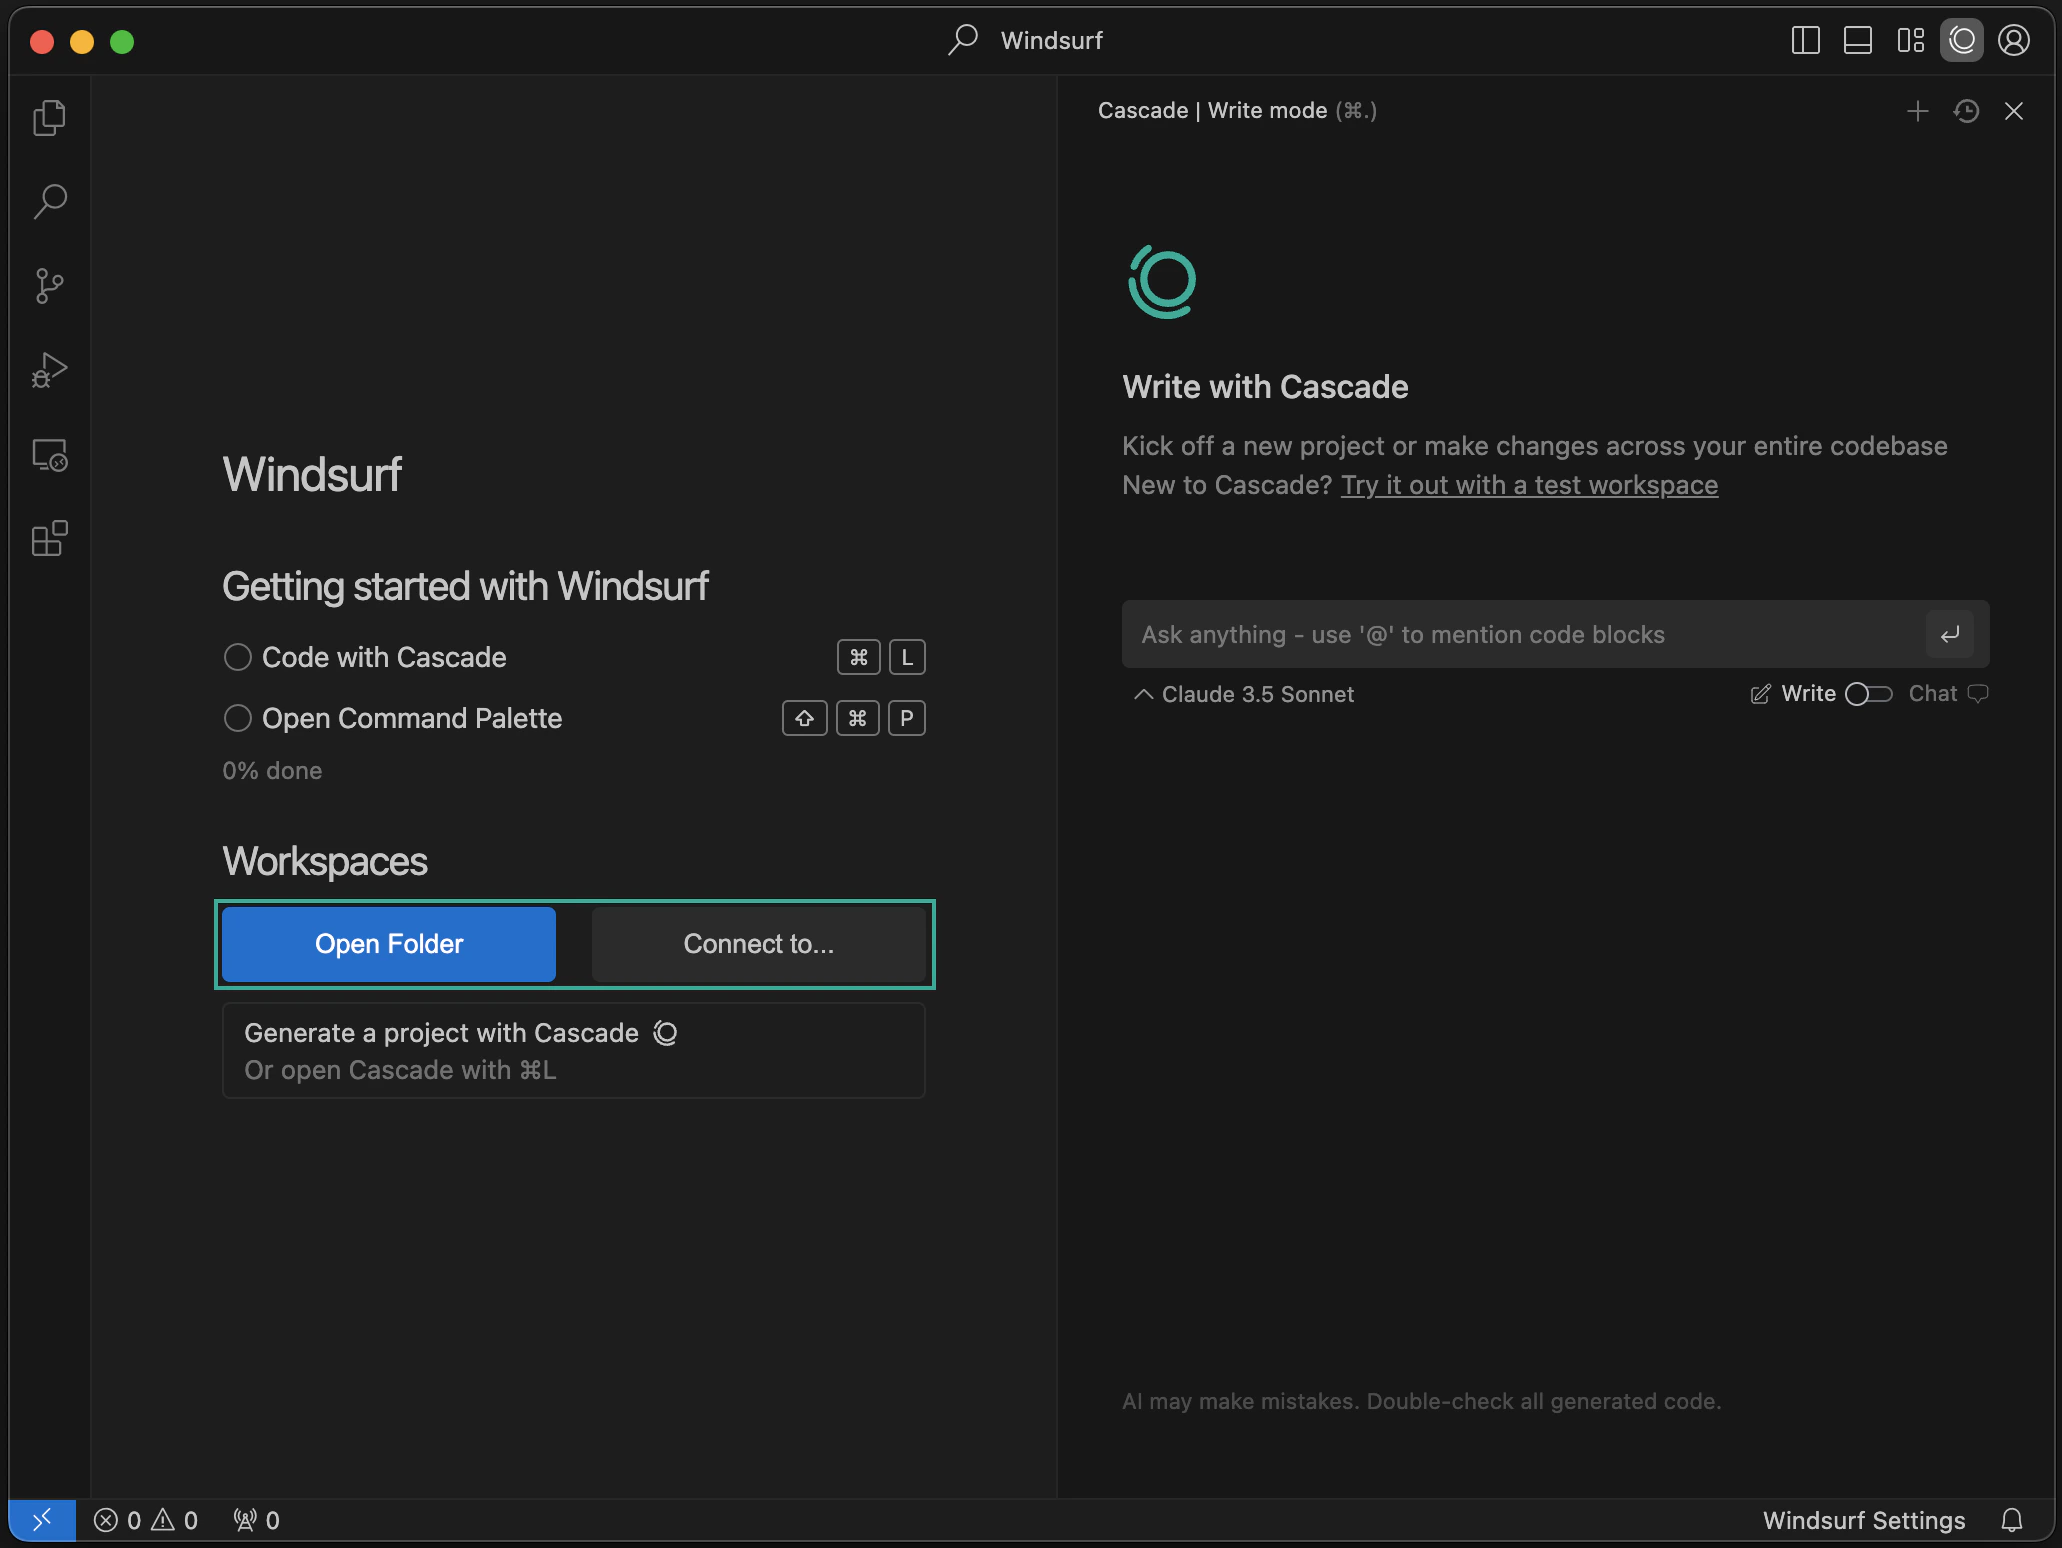
Open Folder / Connect to Remote Server
Open Folder / Connect to Remote Server
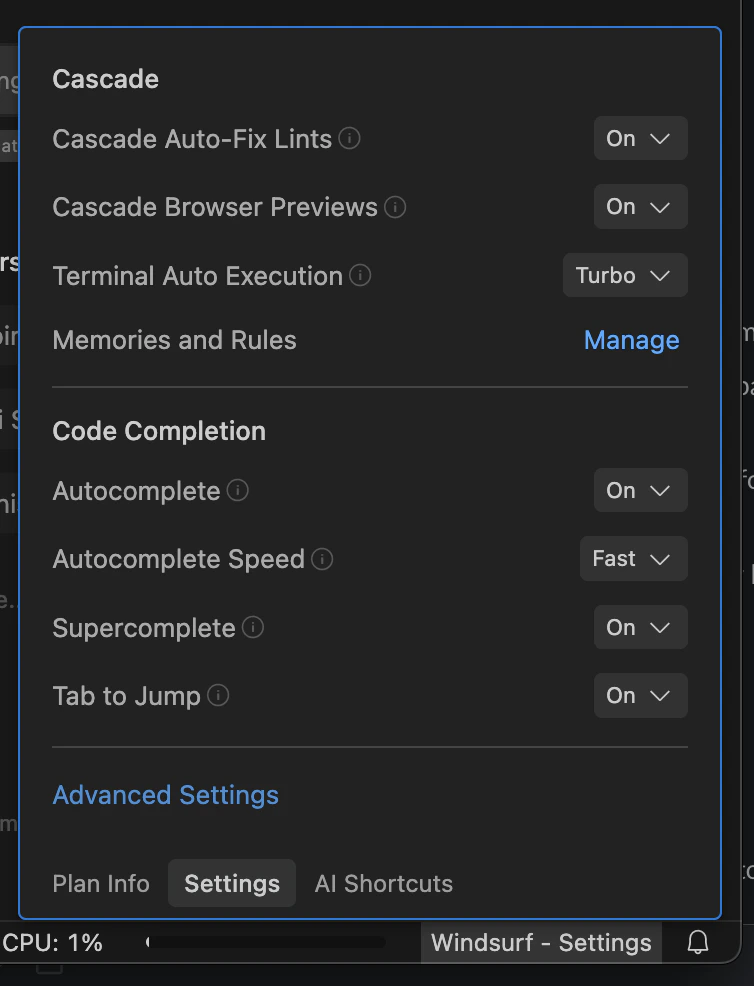
Configure Devin Settings
Configure Devin Settings
Open Command Palette
Open Command Palette

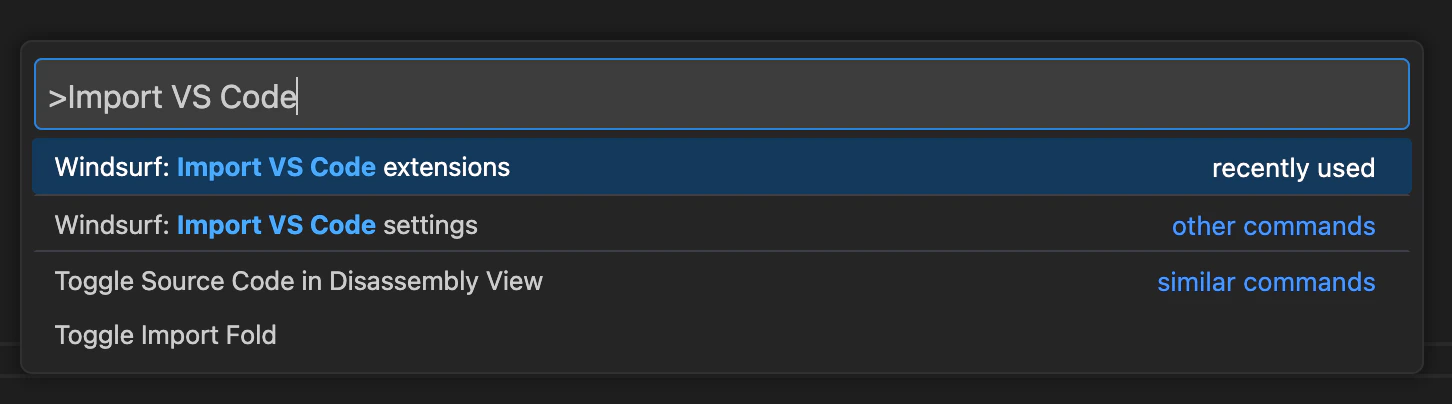
⌘+⇧+P (on Mac) or Ctrl+Shift+P (on Windows/Linux) shortcut. Explore the available commands!Forgot to Import VS Code Configurations?
You can easily import your VS Code/Cursor configuration into Devin Desktop if you decide to do so after the onboarding process. Open the command palette (Mac:⌘+⇧+P, Windows/Linux: Ctrl+Shift+P) and type in the following:
- VS Code
- Cursor

Incompatible Extensions
There are a few extensions that are incompatible with Devin Desktop. These include other AI code complete extensions and proprietary extensions. You cannot install extensions through any marketplace on Devin Desktop.Custom App Icons (beta)
For paying users of Devin Desktop, you can choose between different Devin Desktop icons while it sits in your dock. Currently, this feature is only available for Mac OS, with other operating systems coming soon. To change your app icon, simply click the profile/settings icon in the top right corner of the editor and select “Customize App Icon”.Devin Desktop Next
Devin Desktop Next is a prerelease version of Devin Desktop which users can choose to opt-in to access the newest features and capabilities as early as possible, even if the features are not fully polished. Features will typically be rolled out to Devin Desktop Next first, and then into the stable release shortly after. You can opt-in to Devin Desktop Next simply by downloading it here.Uninstall Devin Desktop
To uninstall Devin Desktop from your system, follow these steps:1
Close Devin Desktop
Ensure that Devin Desktop is not currently running before proceeding with the uninstallation.
2
Delete the Devin Desktop application
- Mac
- Windows
- Linux
Drag the Devin Desktop application from the Applications folder to the Trash.
3
Remove configuration files
- Mac/Linux
- Windows
Delete the Devin Desktop configuration folder:
4
Additional cleanup
- If you installed Devin Desktop in PATH, remove it from your system’s PATH environment variable.
- If you installed Devin Desktop using your system’s package manager or control panel, you can also use that to uninstall it.
- Empty your Trash or Recycle Bin to complete the uninstallation.